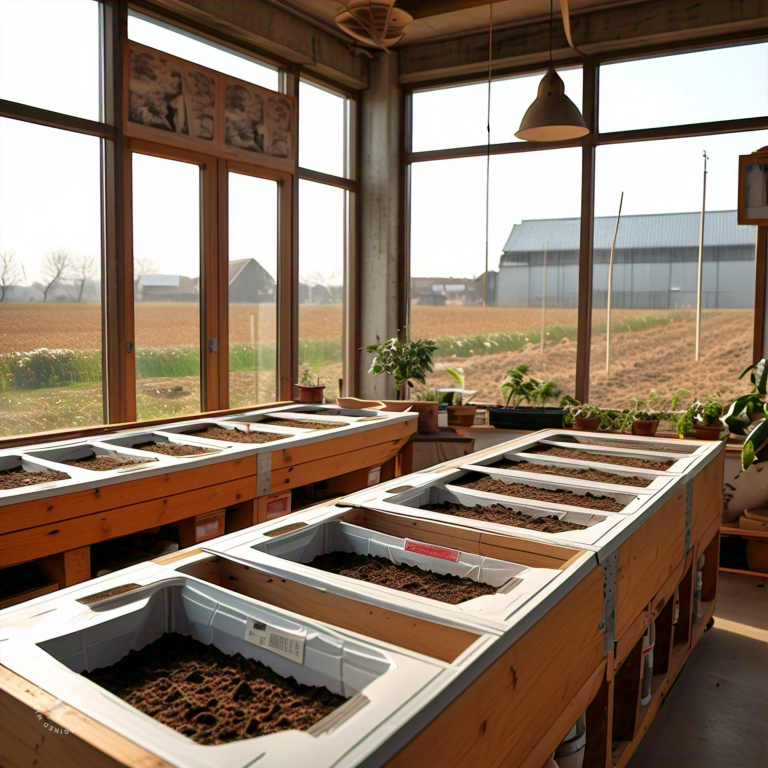
Are you a gardener, small-scale farmer, or an aspiring entrepreneur? If yes, a seed incubator might be what you need. It’s a special place that helps your seedlings and business ideas grow strong from the start.
With a seed incubator, you can keep your plants or business in perfect conditions. This means steady temperature, humidity, and light – key for seeds to grow and businesses to thrive. It’s great for growing veggies, herbs, flowers, or trees, or for starting a new product or service.
Using a seed incubator brings many advantages. It speeds up your growing season and connects you to entrepreneurship programs, mentorship, funding, and networking. This tool can help your seeds and startup reach their full potential.
Understanding Seed Incubators
A seed incubator is a special place that helps seeds grow. It creates the perfect conditions for seeds to start growing and become healthy seedlings. By controlling things like temperature, humidity, and lighting, it makes seeds grow faster and stronger.
Benefits of Using a Seed Incubator
Using a seed incubator has many advantages for gardeners and growers:
- Improved germination rates for seeds
- Accelerated seedling growth and development
- Precise temperature control for optimal growing conditions
- Regulated humidity levels to prevent disease and promote healthy growth
- Customized lighting schedules to mimic natural daylight cycles
- Protection from pests, disease, and environmental stressors
- Increased success in growing difficult-to-germinate or finicky seeds
A seed incubator gives your seedlings a great start. This leads to stronger, more vigorous plants when you move them to your garden or outdoor area.
Building Your Own Seed Incubator
Building a DIY seed incubator at home saves money and starts your gardening journey. With basic materials and simple steps, you can make an effective seed incubator. This will help your plants germinate and grow well.
Materials Needed
To make your own seed incubator, you’ll need these materials:
- Heat mat for seed warmth
- Temperature controller to keep the heat right
- Capillary mat or trays for water and seed support
- Polycarbonate sheets or a clear container to keep heat in
- Fluorescent or LED grow lights for seedlings
- Seed starting trays or Jiffy peat pellets for seeds
- Sturdy metal shelving or a table for the setup
Step-by-Step Instructions
After getting all the materials, follow these steps to build your DIY seed incubator:
- Set up the metal shelving or table in a bright spot, making sure it’s level and stable.
- Put the heat mat on the shelving and connect it to the temperature controller. Keep the temperature around 70°F.
- Put the seed starting trays or Jiffy peat pellets on the heat mat, touching the warm surface.
- Use the capillary mat or trays under the seed containers for steady water supply.
- Put the polycarbonate sheets or a clear container over the setup to keep heat and moisture in.
- Place the grow lights above the incubator, about 2-4 inches from the top.
- Set the grow lights to turn on for 16 hours a day for best seed germination and growth.
- Check the water in the capillary mat or trays often, adding more as needed. Keep the soil moist but not too wet.
With these easy steps, you can make a homemade seed incubator. This will help your seeds grow well, starting your garden at home.
Benefits Of A Seed Incubator.
Think of a seed incubator as a startup accelerator for your garden. It offers resources, mentorship, and funding to help new companies grow. Similarly, a seed incubator helps your plants by creating the best environment for germination and growth.
This means your plants grow faster, you can harvest earlier, and you get more produce. Gardeners find their plants are stronger and healthier. They can fight off stress and pests better. Using a seed incubator can greatly benefit your garden, whether it’s big or small.
Successful startups use business incubators to grow. Your garden can too with a seed incubator. These devices create perfect conditions for seeds to start and seedlings to thrive. This gives your plants a strong start to the growing season.
A seed incubator boosts plant growth and increases yields. It controls temperature, humidity, and airflow for your seedlings. This makes it a powerful tool for gardeners. Your plants will be healthier and more resilient, leading to bigger harvests.
Using a seed incubator can change the game for any gardener, new or experienced. It’s a small investment that can lead to a thriving garden. Give your plants the support successful startups get. A seed incubator could be the key to your garden’s success.
Optimal Temperature and Humidity Levels For Your Seed Incubator
Getting the right temperature and humidity in your seed incubator is key to success. The best conditions vary by seed type, but there are general guidelines to follow.
Guidelines for Different Seed Types
Seed germination needs vary by type. For instance, marigolds germinate well between 50°F and 85°F. But Freesia needs a narrower temperature range, from 55° to 65°F.
Most seeds do best at temperatures between 70°F and 85°F. High temperatures can dry out seeds, while low temperatures slow or stop germination.
For germination, keep the humidity at 70% to 90%. Too much moisture can stop seeds from absorbing water properly.
Seeds from packets usually have 4% to 12% moisture. For germination, this needs to rise to 25% to 50%. Adjust your incubator’s humidity to get this right.
For seedlings, use 25 to 35 lamp watts/sq ft of fluorescent or LED light. This is about 35 watts of power.
Know the specific temperature and humidity needs of your seeds. This way, you can create the perfect conditions for germination and growth in your seed incubator.
Maintaining and Monitoring Your Seed Incubator
Starting your seedlings off right means keeping an eye on your seed incubator. It’s key to check the temperature and humidity often. This helps create the best environment for your seeds to grow.
Temperature Control
Make sure to check the temperature controller in your seed incubator regularly. The ideal temperature varies by seed type, but usually, it’s between 5°C and 60°C. Adjust the controller to keep the temperature steady and consistent.
Humidity Monitoring
Keep an eye on the humidity in your seed incubator too. It should be between 50% and 90% relative humidity (RH). Use the incubator’s humidity system or a hygrometer to track moisture levels. Adjust as needed.
Troubleshooting and Adjustments
- If the temperature or humidity levels get off, fix it fast. This might mean tweaking the incubator settings or checking for air system issues.
- Keep the inside of the incubator clean to avoid dust, debris, or mold. These can harm the incubator’s performance and your seedlings.
- Make sure the power supply and electrical connections are good. This keeps your incubator running smoothly and your seeds growing well.
By keeping up with maintenance and monitoring, you give your seedlings the best chance to grow strong and healthy. This leads to thriving plants in your garden.
Conclusion
A seed incubator is a key tool for gardeners and small farmers. It helps control temperature, humidity, and lighting. This creates the best conditions for seeds to germinate quickly and grow strong.
This means you can harvest earlier, get more from your plants, and have more success. The benefits are clear: you can extend the growing season, boost seed germination, and grow strong seedlings ready for the outdoors.
Using a seed incubator lets you watch your plants grow from the start. It also increases your chances of a successful harvest. For gardeners, it’s a way to get a jumpstart on the growing season.
It’s great for both experts and beginners. Adding a seed incubator to your gardening can change the game. It makes growing plants more efficient and boosts your confidence in your gardening skills.


