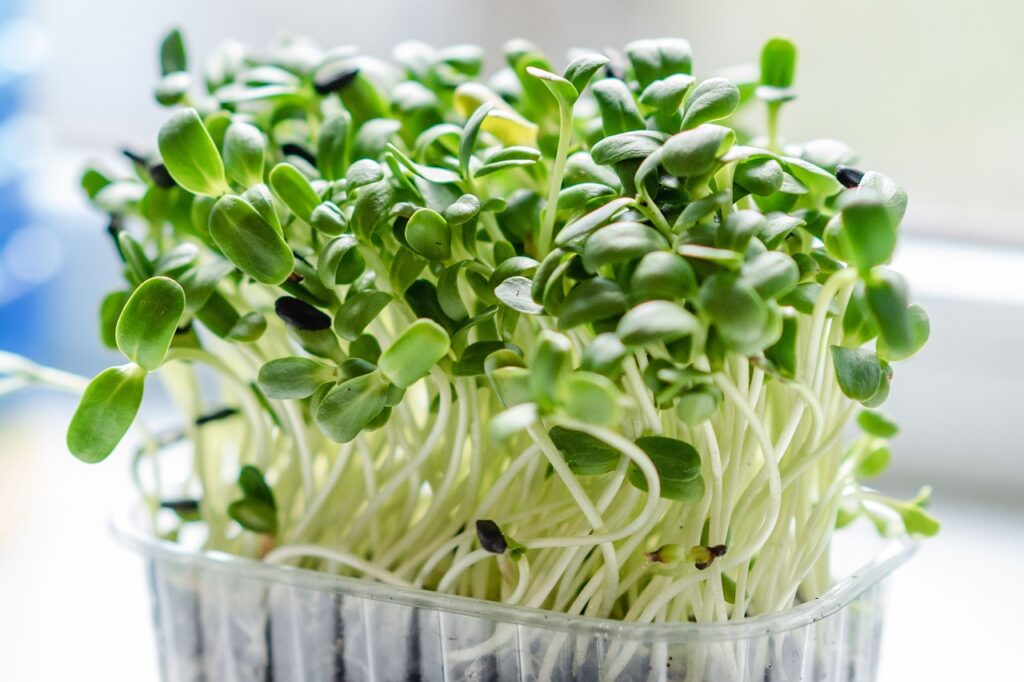
Microgreens are a powerhouse of flavor and nutrition, making them a fantastic addition to your meals. The best part? You don’t need soil to grow them! In this guide, we’ll show you exactly how to grow microgreens at home without soil using simple techniques and tools.
Why Grow Microgreens Without Soil?
Growing microgreens without soil comes with multiple advantages:
1. Less mess
No soil means less dirt and easier cleanup.
2. More control
Without soil, you have more control over the growing conditions and can optimize them for maximum yield and flavor
3. Improved hygiene
Eliminating soil reduces the risk of bacteria and contamination.
4. Year-round harvest
With a soilless system, you can grow microgreens 365 days a year, regardless of the weather or season.
What You Need to Grow Microgreens at Home Without Soil
To grow microgreens without soil, you’ll need the following tools and materials:
1. Growing trays or containers
You can use plastic or wooden trays, or even repurpose old containers like yogurt or margarine tubs.
2. Soilless growing medium
Instead of soil, you’ll use a soilless growing medium like peat moss, coconut coir, or a mix specifically designed for microgreens.
3. High-quality seeds
Choose organic, non-GMO microgreen seeds like radish, broccoli, or mustard.
4. Watering system
You’ll need a way to water your microgreens, such as a spray bottle or a watering can with a fine nozzle.
5. Lighting
Microgreens need light to grow. You can use natural light, grow lights, or a combination of both.
6. Humidity control
A plastic dome or breathable cover helps maintain moisture levels.
7. Temperature regulation
Most microgreens prefer daytime temperatures between 65-75°F (18-24°C) and nighttime temperatures around 55-65°F (13-18°C).
How to Grow Microgreens at Home Without Soil in 7 Easy Steps
1. Prepare the Growing Tray
Fill your tray with a soilless medium, spreading it evenly to create a smooth surface. If using coconut coir or hemp mats, moisten them slightly before adding seeds.
2. Sow the Seeds Generously
Scatter the seeds densely, but avoid overlapping them too much. Lightly press them into the growing medium for better contact.
3. Water the seeds
Water the seeds gently but thoroughly. Make sure the growing medium is moist but not waterlogged
4. Cover for Humidity Control
Place a plastic lid, dome, or breathable cover over the tray to maintain moisture and encourage germination.
5. Provide Light and Warmth
Once seeds start sprouting (usually within 3-5 days), remove the cover and place the tray under a grow light or near a sunny window.
6. Water and Monitor Daily
Check your microgreens daily and mist them lightly if needed. Keep the growing medium moist but not waterlogged to prevent mold.
7. Harvest and Enjoy.
When your microgreens reach 1-3 inches tall (usually within 7-14 days), use scissors to snip them just above the growing medium. Rinse and enjoy fresh microgreens in your favorite dishes!
Expert Tips for Growing Microgreens Without Soil
Here are some tips and variations to help you get the most out of your soilless microgreen growing system:
1. Use a variety of seeds
Experiment with different types of microgreens, such as salad mix, kale, arugula, sunflower, pea shoots, and radish.
2. Adjust the growing conditions
Experiment with different temperatures, light levels, and watering schedules to optimize the growth of your microgreens.
3. Add nutrients
Consider adding nutrients like fertilizer or compost tea to the water to promote healthy growth.
4. Use a trellis
Consider using a trellis or other support system to help the microgreens grow upright and promote better air circulation.
Conclusion
Growing microgreens without soil is a fun, rewarding, and low-maintenance way to enjoy fresh, nutrient-rich greens year-round. With minimal effort and the right conditions, you can cultivate a thriving microgreen garden in your own home. Start today and elevate your meals with homegrown, delicious microgreens!
Happy growing!


