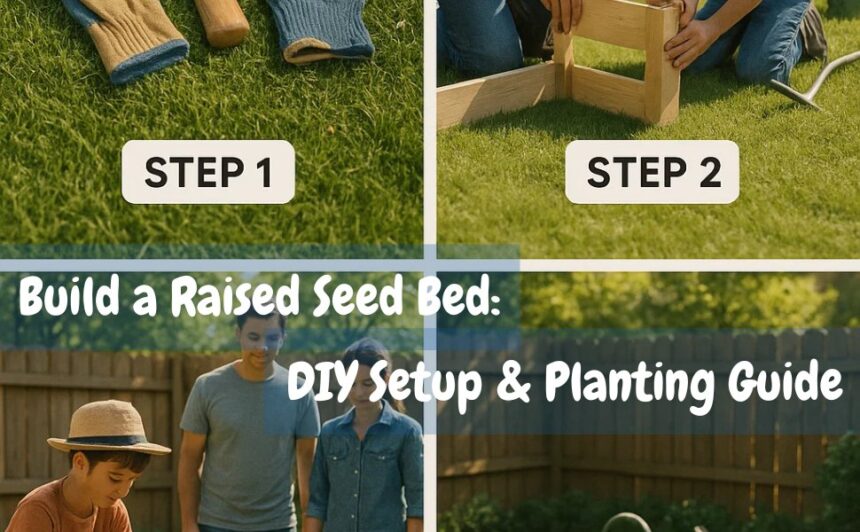
Want to grow vegetables that are healthier but with half the work? The largest improvement you can make to your garden may be a raised seed bed, which you can construct yourself in a weekend!
More than simply a fad, raised seed beds are a clever, easy solution to increase your produce while reducing soil difficulties, bending, and weeding. They simplify gardening for both novice and experienced growers by improving drainage, reducing pests, and giving complete control over soil quality.
This do-it-yourself guide will teach you how to construct your own raised seed bed and how to plant it properly for a successful, fruitful garden.
Why Choose a Raised Seed Bed? Benefits and Considerations
Enhanced Soil Quality and Drainage
With raised seed beds, you have complete control over the soil mixture. Which would you prefer, rich compost or sandy soil? It is up to you.
For seedlings to avoid rot and waterlogging, the soil must drain well. These beds provide young plants with a good start by keeping excess water out.
Pest and Weed Management
Early pest detection is much easier with raised beds. Less weed invasion occurs when the bed is kept higher.
Protecting your plants from rodents and insects may also be accomplished with ease by adding coverings or barriers.
Extended Growing Season & Accessibility
Raised bed soil heats up more quickly in the spring. Compared to in-ground gardening, this allows you to plant earlier.
Additionally, you can arrange your bed at a comfortable height for easy work if bending or kneeling is difficult for you.
Considerations Before Building
Pick a location with good drainage and sunlight. Consider the crops you wish to plant as well as the size of your area. Later, preparation saves time and work.

Planning Your Raised Seed Bed: Design and Preparation
Selecting the Ideal Location
Your bed should receive at least 6 to 8 hours of direct sunlight each day. Choose a location close to water sources to facilitate watering.
Avoid windy, shady spots since they may cause the soil to dry out or seedlings to become cold.
Determining the Size and Shape
A common size is 4×8 feet. It’s big enough to grow several plants, yet manageable to reach across. Height matters too — 6 to 12 inches deep is perfect for most seeds and small plants.
Materials Selection
Wood is a common option since composite or cedar wood lasts longer without decaying. Bricks or pallets that have been recycled also function nicely.
Although they cost more, stone or metal improves durability. Choose what suits your spending limit and style.
Gathering Necessary Tools and Supplies
- Tape measure
- Level
- Shovel and rake
- Drill and screws
- Mulch
- Organic soil mix and compost
Building Your Raised Seed Bed: Step-by-Step DIY Setup
Preparing the Site
Remove any garbage, weeds, and grass. To avoid uneven watering, level the ground. To keep weeds out later, you can spread a weed barrier cloth.
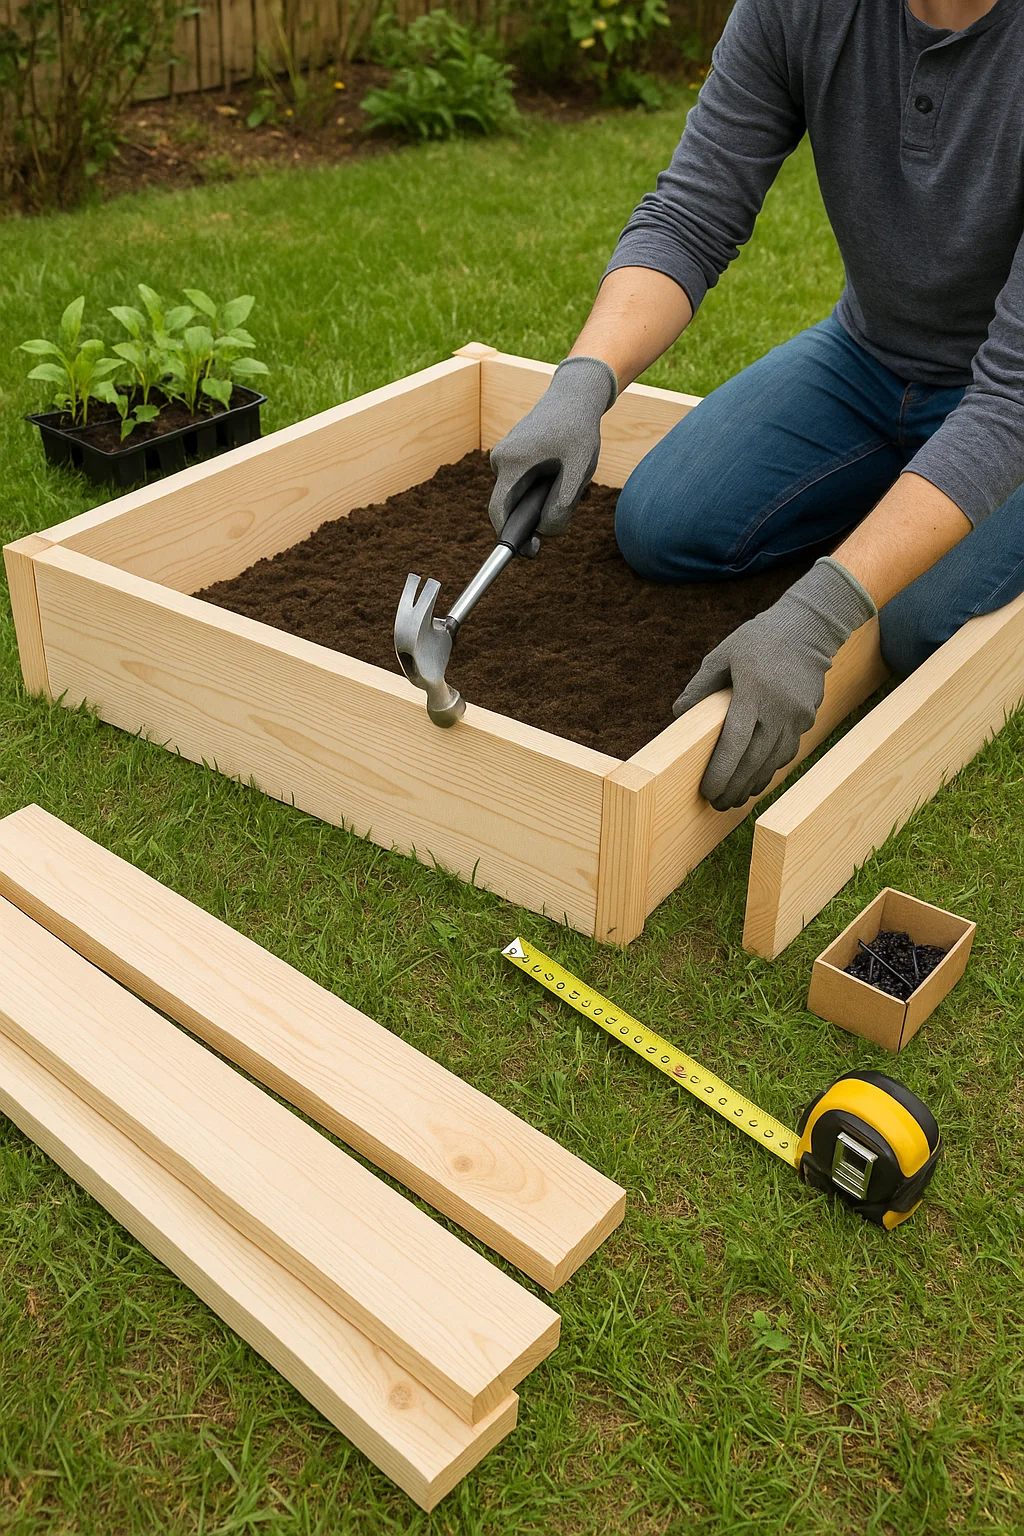
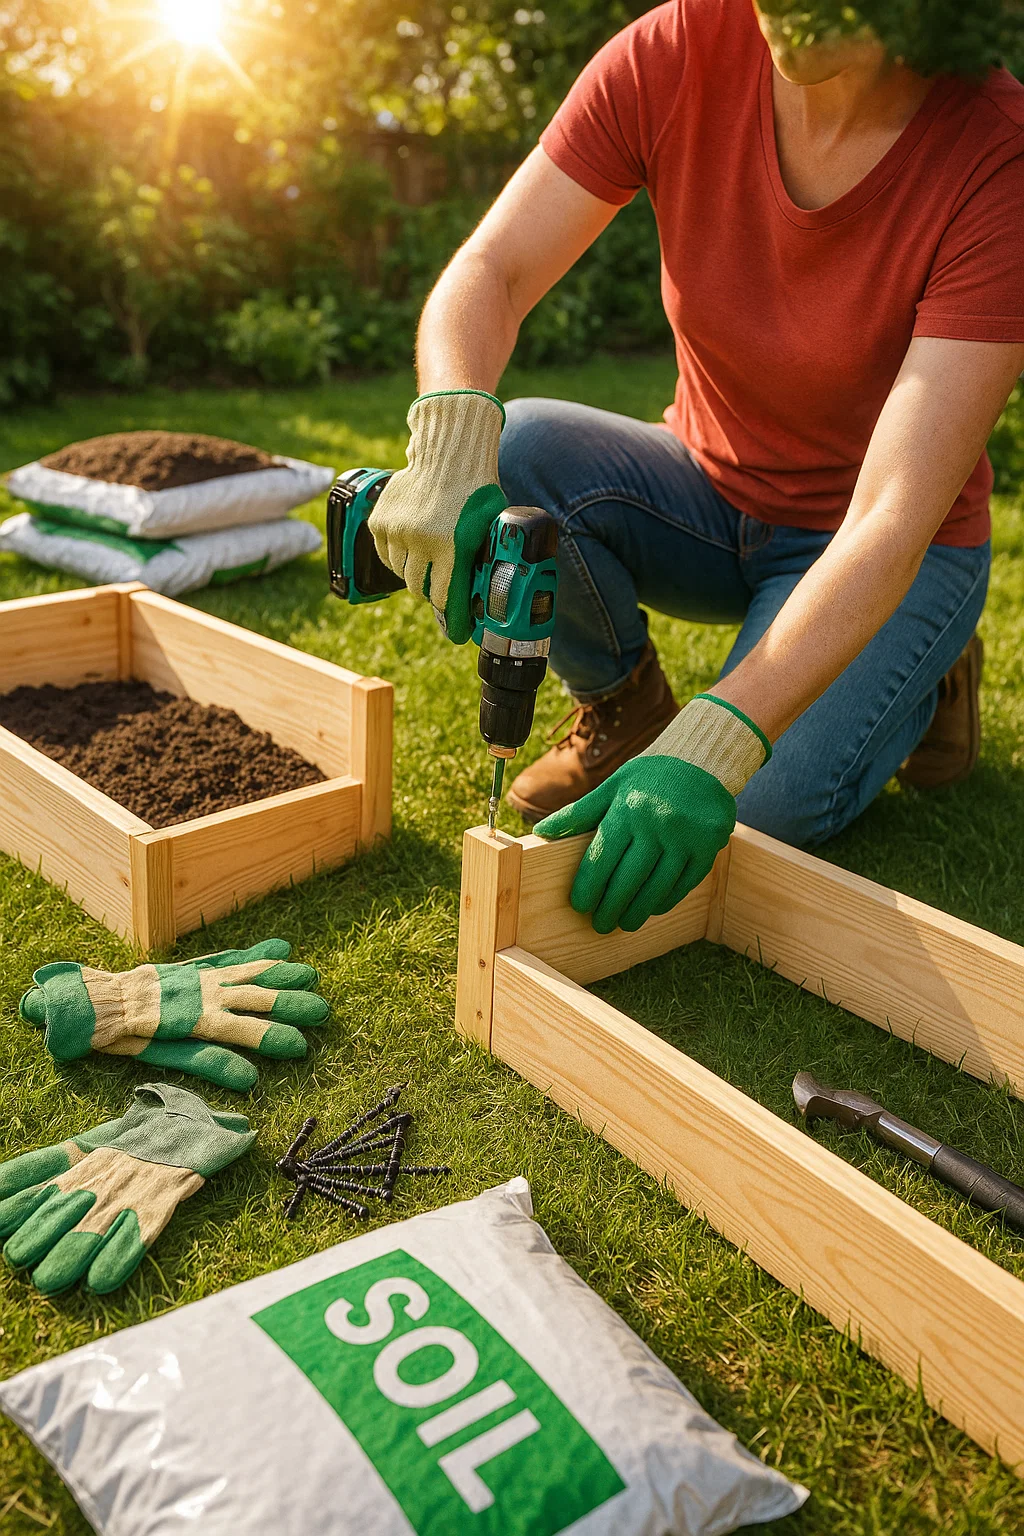
Constructing the Frame
Your materials should be measured and trimmed to size. Assemble the sides using brackets or screws.
Verify that the frame is stable and square. A sloping bed might lead to water pooling, so make sure it’s level with a level.
Installing the Base and Edging
To keep weeds out, use landscape cloth within the frame. If you want drainage, add a layer of crushed stone or gravel. This prevents waterlogging of your soil.
Filling the Bed with Soil
Combine topsoil, organic compost, and, if necessary, a little amount of sand. To prevent water from spilling over, fill the bed about an inch below the top border. Before planting, give the earth a good watering.
Final Checks
Make sure everything is level and sturdy. You can now plant in your seedbed. Before you begin planting, keep the soil damp but not soggy.
Planting Seeds in Your Raised Bed: Tips for Success
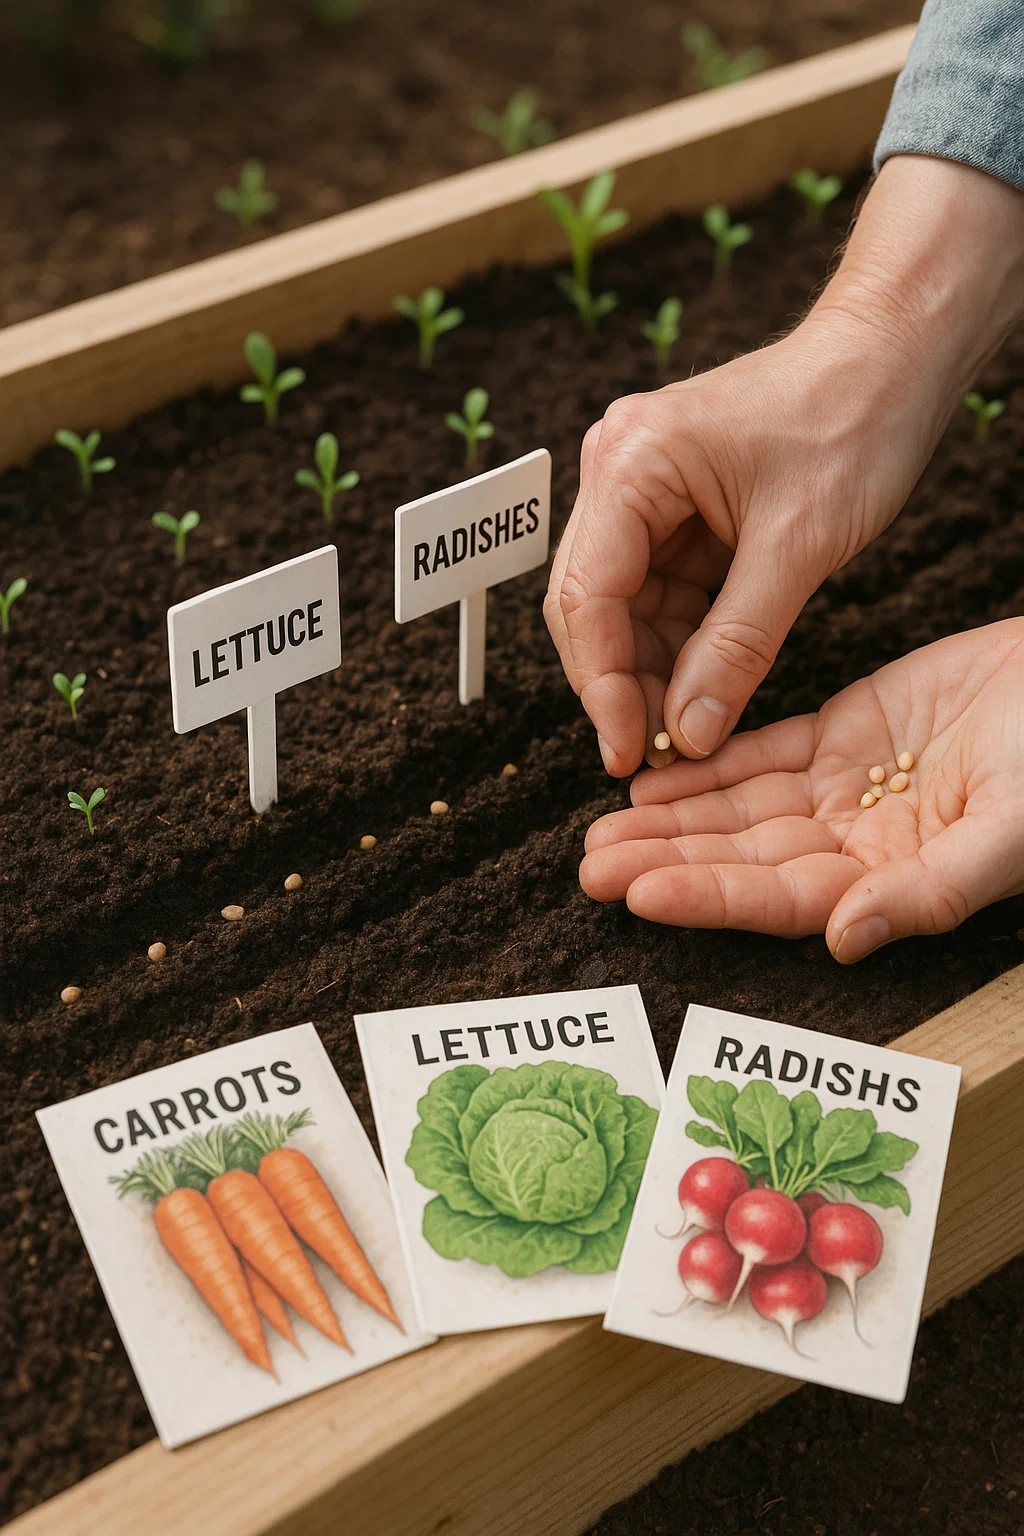
Selecting the Right Seeds
Select seeds that are appropriate for the season and your climate. Growth can be increased by planting companion plants, such as carrots and onions. For information on timing and spacing, consult the seed packs.
Preparing the Soil for Planting
To increase nutrients, add compost or organic fertiliser. The soil should be damp but not saturated when tested for moisture. If it’s dry, irrigate it thoroughly before planting.
Seed Sowing Techniques
Plant seeds as deep as the packaging suggests. To prevent overcrowded roots, space seedlings equally. For little seeds, use trays; otherwise, put them straight in the bed.
Post-Planting Care
Since most seeds require damp soil to grow, water frequently. Mulch to retain moisture and keep weeds at bay. Protect young plants from weather and pests by using mini-greenhouses or row covers.
Maintenance and Care: Ensuring a Bountiful Harvest
Watering and Fertilising
Observe a weather-based watering regimen. Additional nutrients can be provided via organic liquids, such as fish emulsion. Don’t water the soil too much, but keep it damp.
Pest and Disease Management
Keep an eye out for insects like as beetles or aphids. Make use of environmentally friendly remedies like handpicking or neem oil. Rotate your crops every season to stave off pests and prevent soil-borne illnesses.
Monitoring Growth and Adjustments
Remove overcrowded seedlings to make space for each plant. For improved moisture retention, add mulch. As needed, add compost to the soil to maintain the health of the plants.
Seasonal Cleanup
After the season, pull weeds and dead plants. To get the soil ready for the next crop, turn it over a little and add compost. For the winter, cover the bed or store goods safely.
Conclusion
A satisfying project that yields fresh vegetables is building your own raised seedbed. The success of your garden is guaranteed from the beginning with careful planning.
Your plants remain healthy and fruitful if you build the bed properly, pick the right seeds, and take good care of them.
You can enjoy a lush garden full of delicious flowers, herbs, or veggies with a little work. Watch your green thumb flourish by beginning your do-it-yourself project now.
Final Tip: Monitor your bed, give it regular attention, and modify your approach as your plants mature. You may enjoy a garden bountiful throughout the season if you are patient and pay attention.