Are you tired of spending a lot on seed starting trays and pots? Learn the simple, eco-friendly way to make your own seedling pots at home. You can use everything from newspaper to eggshells for your plant starters. But why use seedling pots and how do you make sure your seeds germinate and transplant well? Let’s look into making your own grow pots for your nursery supplies.
What Are Seedling Pots?
Seedling pots, also known as seed starting pots, are small containers for growing seedlings indoors before moving them outside. They help seeds sprout and grow strong roots, leading to healthier plants.
Seedling pots help with the seed starting process by giving young plants a safe and supportive space. They make sure seeds germinate and grow well, giving gardeners a jump start on the growing season.
Advantages of Using Seedling Pots
Seedling pots have many benefits for gardeners. They help control the germination process, which means more successful plants. These pots also give plants enough root space and nutrients for healthy growth.
Biodegradable seedling pots are becoming more popular because they are good for plants and the environment. Made from things like peat, coconut coir, or recycled materials, they break down and can be planted directly in the ground. This reduces the need for plastic and helps plants adjust to their new home.
Using seedling pots, whether they’re biodegradable or plastic, makes starting seeds more efficient and helps plants thrive. They give seedlings a great start, setting the stage for a successful garden.
Types of Seedling Pots
Gardeners have many seedling pot options to pick from. These pots help young plants grow before moving them to the garden. Popular choices include biodegradable pots and plastic seed trays.
Biodegradable Pots
Biodegradable seedling pots are good for the planet. They break down, letting roots grow into the soil. Here are some types:
- Peat Pots: Peat pots are traditional but can harm the environment.
- Coir Pots: Made from coconut fiber, coir pots are a better choice.
- Paper Pots: Paper pots, often from recycled materials, are also eco-friendly.
Studies show these pots work well indoors and outdoors. Once moved, plants grow well, and the pots break down easily.
Plastic Pots
Plastic seedling pots are common but not as green as biodegradable ones. Yet, they can be reused, making them useful for some gardeners. Plastic trays and cells support seedlings well.
Choosing the right pots means thinking about sustainability, ease, and durability. This helps find the best fit for your garden.
Materials Needed for DIY Seedling Pots
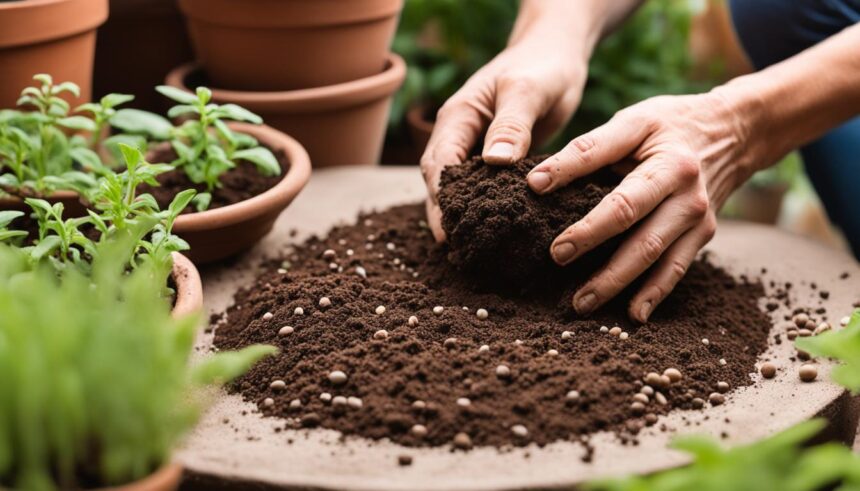
Growing your own seedlings at home is rewarding and saves money. You can make your own seedling pots using items from your home. This approach saves money and helps the environment by using less waste.
Here are some household items you can use to make seedling pots:
- Newspaper
- Toilet paper or paper towel tubes
- Eggshells
- Cardboard egg cartons
- Yogurt cups or other small containers
- Paper to-go cups
- Clamshell containers
You’ll need some basic tools to turn these items into seedling pots:
- Scissors or a utility knife for cutting and shaping the pots
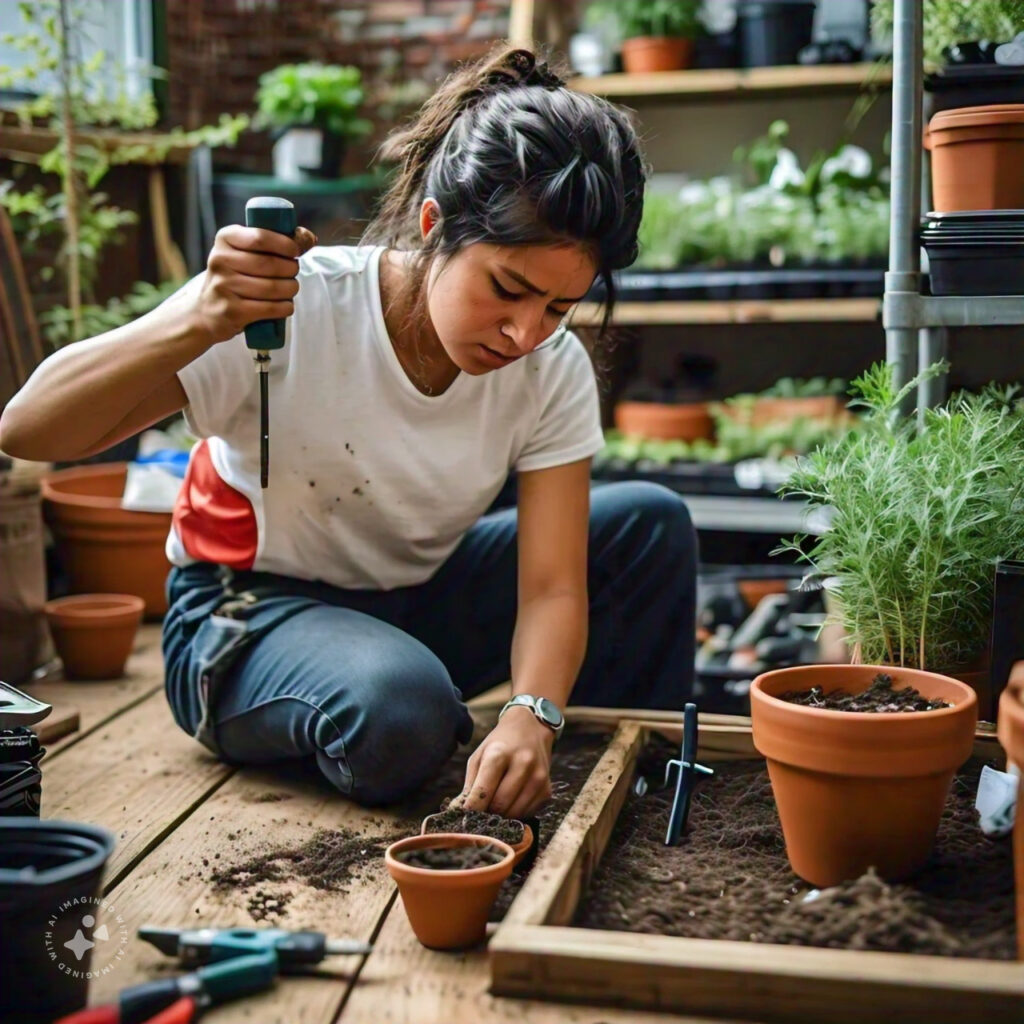
- A screwdriver or other sharp object to poke drainage holes in the bottom of the pots
- A seed starting mix to fill the pots and provide a good growing medium for your seedlings
Using recycled materials for seed starting reduces the need for new pots. This makes your gardening more eco-friendly and budget-friendly. Plus, making these pots can be a fun activity for the whole family.
For successful homemade seedling pots, make sure they drain well. Use a high-quality seed starting mix for the best start. With creativity and common household items, you can make your own affordable and eco-friendly seed starting setup.
Step-by-Step Guide to Making Seedling Pots
Making your own DIY seedling pots is easy, green, and won’t break the bank. It’s perfect for growing veggies, herbs, or flowers. Let’s explore how to make these pots with items you likely have at home.
Preparing the Materials
You’ll need a few simple things to make your seedling pots:
- Newspaper (make sure it has plant-safe inks)
- A cylindrical object, like a drinking glass or mason jar, for the mold
- Masking tape
Newspaper is a great choice because it’s easy to find and doesn’t cost much. A big box of old newspapers can be bought for just $2. This makes it a budget-friendly option for your seedling pots.
Shaping the Pots
Here’s how to make your seedling pots:
- Take a full sheet of newspaper and tear it in half for two equal pieces.
- Fold one piece into a long, narrow strip.
- Wrap the strip around your mold, overlapping the edges a bit.
- Use masking tape to hold the newspaper in place.
- Fold the bottom of the mold to make a solid base for your pot.
This method lets you make many biodegradable seedling pots from newspaper quickly. The cylindrical shape is strong and helps your plants grow well.
Adding Drainage Holes
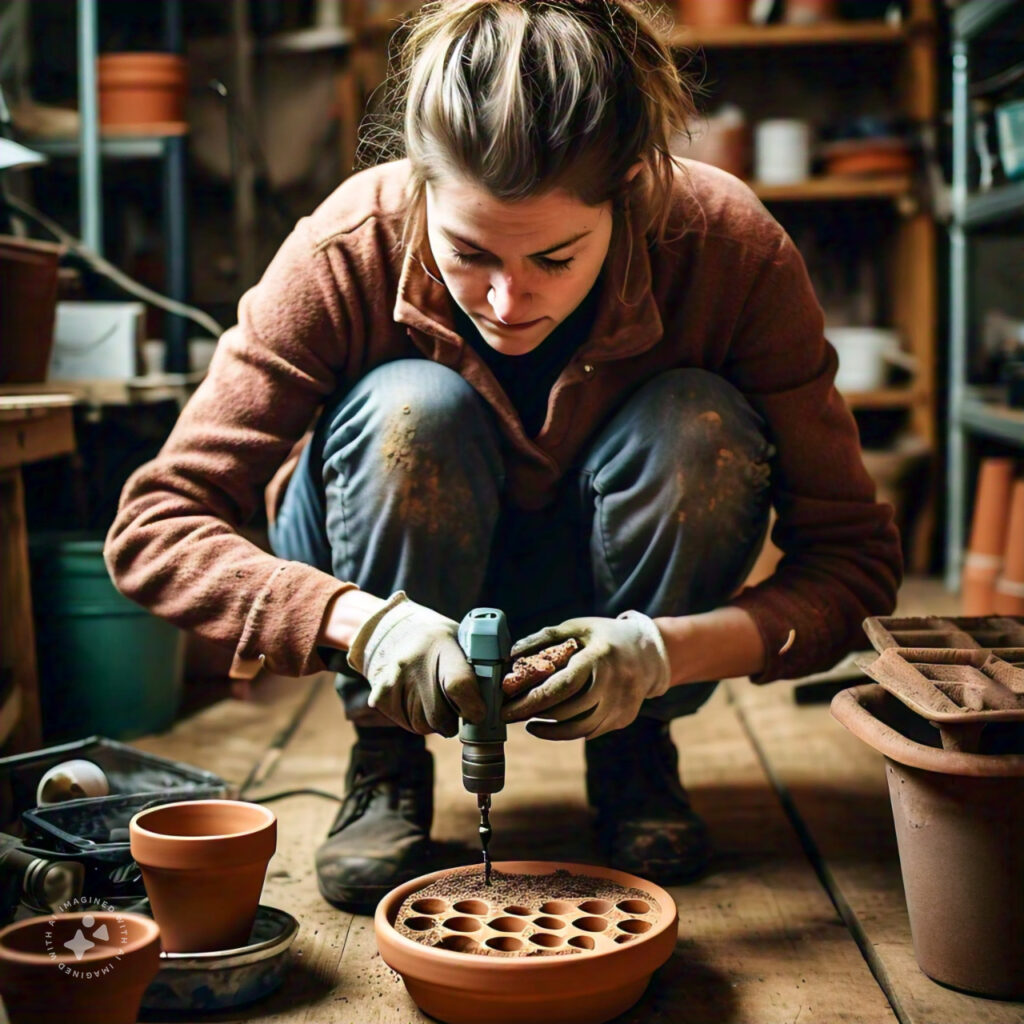
Adding holes for drainage is key to prevent waterlogging. Use a pencil or sharp object to make several holes at the pot’s bottom. This lets excess water out, keeping your soil and roots healthy.
By following these steps, you can make eco-friendly, budget-friendly seedling pots from newspaper. These DIY containers are useful and help you garden more sustainably. Enjoy growing your plants in your handmade pots!
Seedling Pots
When to Use Seedling Pots
Use seedling pots when starting seeds indoors a few weeks before the last frost in your area. They help protect the seeds and young plants until they’re strong enough for the outdoors. The best time to use them varies with the plant type and your local weather.
Tips for Successful Seedling Germination
To get seedlings to grow well in pots, follow these tips:
- Keep the soil moist but not too wet.
- Give the seedlings enough sunlight, either from a sunny window or grow lights.
- Watch the pots closely and move the seedlings to bigger containers when they need more room.
- Keep the temperature steady, between 70-85°F (21-29°C), for the best germination.
- Use a potting mix made for seed starting to avoid problems like damping off.
By using these tips for seedling pots, you can help your plants get a great start. This increases the chances of a successful move to your garden.
Transplanting Seedlings from Pots
When it’s time to move your seedlings from pots to the garden, get ready. First, add compost or organic matter to the garden bed for better nutrients and drainage. Wait for the last frost date in your area before moving your seedlings outside.
Preparing the Garden Bed
Add compost or other soil amendments to the planting area for a nutrient boost. This helps your seedlings grow strong. Aim for soil that drains well and supports healthy growth.
Removing Seedlings from Pots
When transplanting, carefully take the seedlings out of their pots without harming their roots. For biodegradable pots, just plant the whole thing in the ground. It will break down over time. For rigid pots, loosen the roots to help them spread out.
- Avoid disturbing the roots as much as possible during the transplanting process.
- Water the seedlings well before and after moving to reduce shock.
- Plant the seedlings at the same depth they were in the pots, avoiding stem burial.
With careful garden bed preparation and seedling handling, you’ll ensure a smooth transplant. This gives your plants a great start in their new spot.
Caring for Transplanted Seedlings
After moving your seedlings to the garden, it’s important to give them the right care. This includes watering, fertilizing, and hardening them off. These steps help them adjust and prevent shock.
Watering and Fertilizing
Keep your seedlings moist but not soaked after transplanting. This helps them grow strong roots and adapt. Use a balanced fertilizer to feed them well.
Watch the plants and adjust watering or fertilizing as needed. This ensures they grow well in the garden.
Hardening Off Seedlings
Before moving seedlings outside, harden them off. This means slowly getting them used to sunlight, wind, and cooler temperatures. It makes them stronger and less likely to shock when planted outside.
- Start by placing the seedlings in a shaded area for a few hours a day. Gradually increase their time in the sun and wind.
- Move them to a sunny spot, letting them stay outside more each day.
- Water them a bit less during hardening off to help their roots grow strong.
- After hardening off, your seedlings will be ready to do well in the garden.
With the right care, your transplanted seedlings will make a smooth transition. This leads to a great harvest.
Conclusion
Making your own seedling pots is a rewarding and eco-friendly way to start your garden. You can use biodegradable materials like newspaper, coir, or recycled paper. This helps your seedlings grow while reducing waste.
Proper care for your seedlings from germination to transplanting is key. It ensures a bountiful and sustainable harvest.
The summary of seedling pot guide has all you need to know. It covers the purpose and benefits of seedling pots and how to make them yourself. It’s great for both beginners and experienced gardeners.
Using DIY seedling pots is a big step towards sustainable gardening. It boosts your plant propagation efforts and garden health.
Follow the tips and techniques in this guide for a thriving, eco-friendly garden. Enjoy the joy of making your own seedling pots and see your plants grow strong from the start.


